Deploying Custom Packages in Apple Business Essentials
18 Jul 2024Apple’s documentation on deploying custom packages using Apple Business Essentials lacks in-depth examples of real-world implementations. Here are two!
Prerequisites
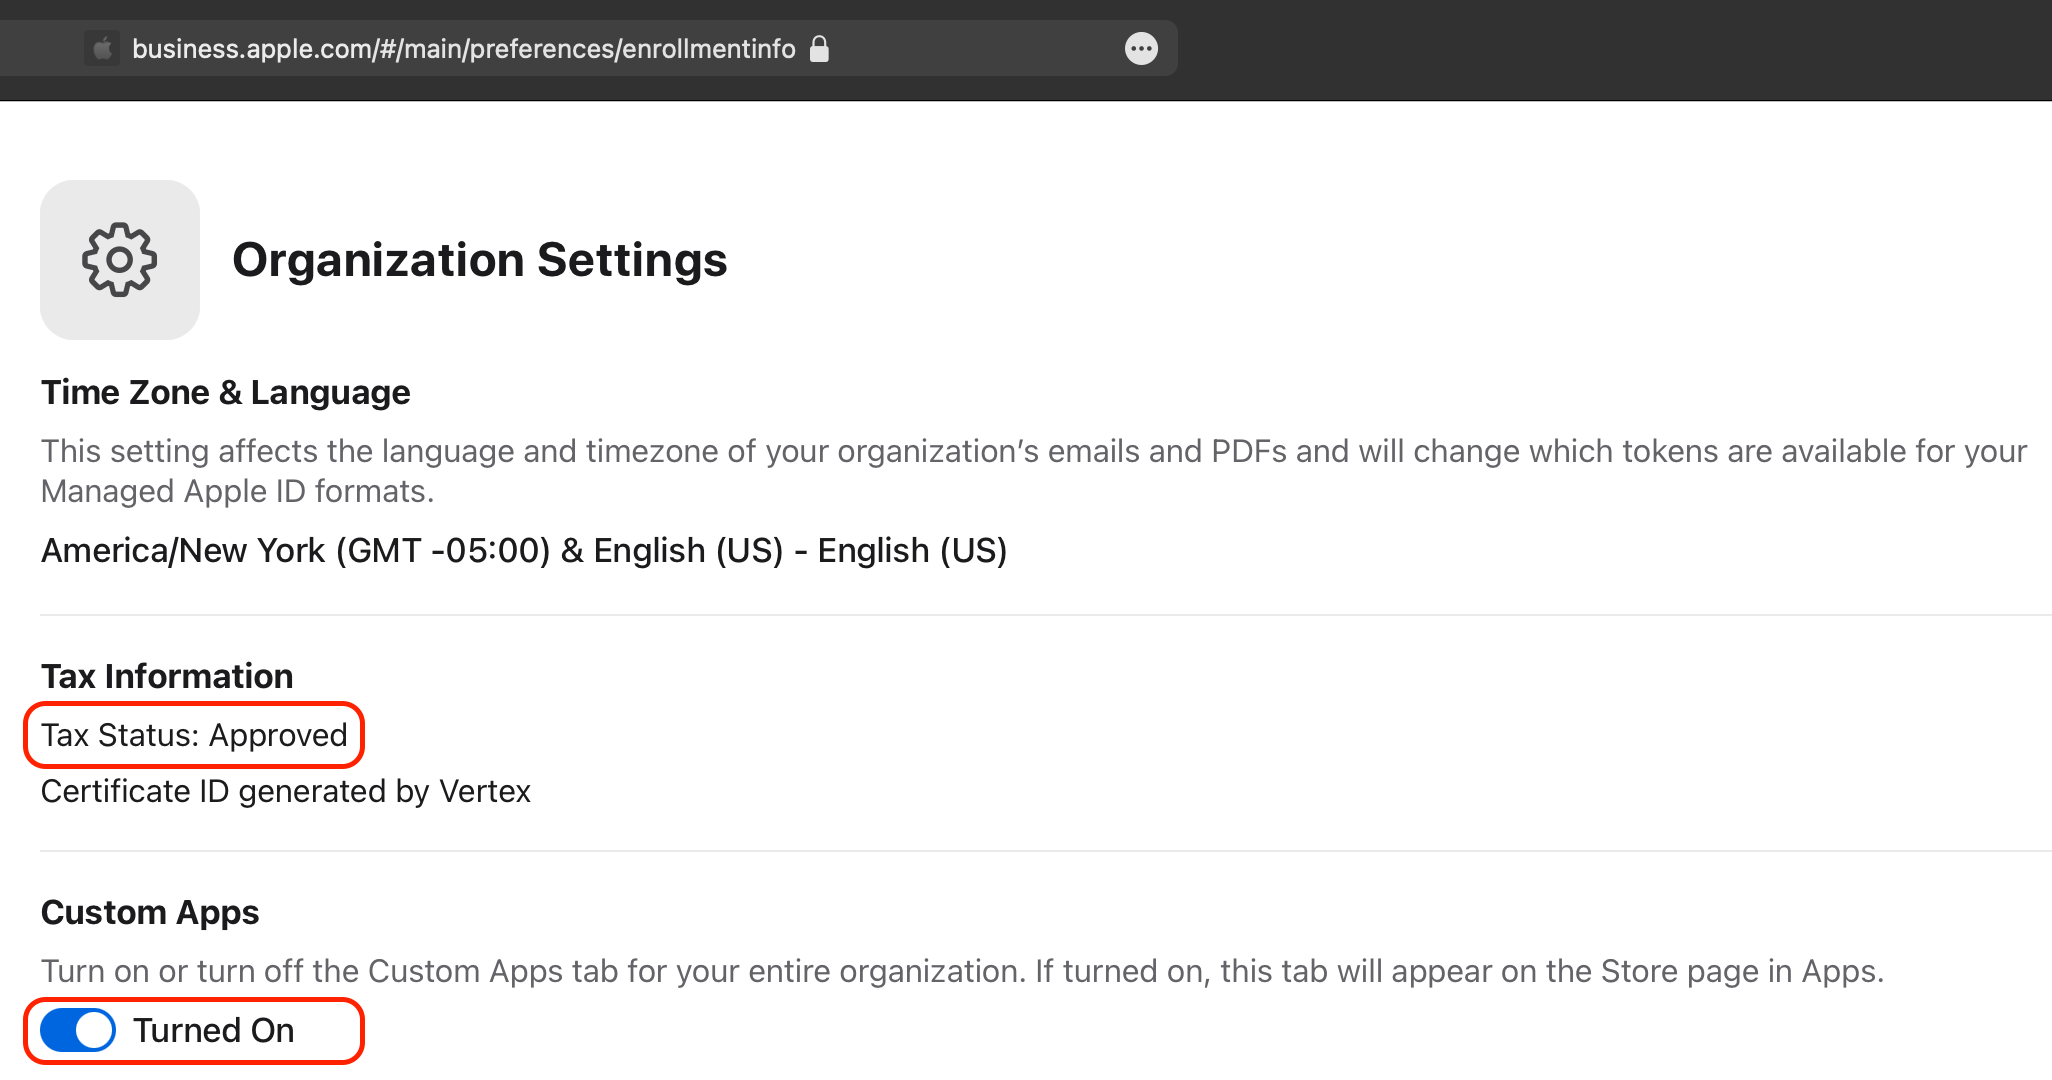
Your organization must have an approved tax status under “Organization Settings” at business.apple.com. Once received, turn on custom apps:
zoom.us
- Navigate to Zoom’s download page.
-
Copy the appropriate download URL, writing it down somewhere for later. I’m deploying to Apple Silicon, so I chose the ARM distribution.
- In a new browser tab, test the download URL. Pressing enter should immediately download/prompt you to download the
zoomusInstallerFull.pkg. Per Apple, “the package must begin to download when the link is used. The link can’t lead to a webpage with another link.” -
In terminal, run
shasum -a 256 zoomusInstallerFull.pkg. The output should look something like the following. We want to copy the long string of numbers and letters, excluding the filename.Terminal output:
08104901aee19f3d08d9cb449fb0cc77379712ce31f9a12612bf8be3675da971 zoomusInstallerFull.pkgDesired SHA-256 hash:
08104901aee19f3d08d9cb449fb0cc77379712ce31f9a12612bf8be3675da971 -
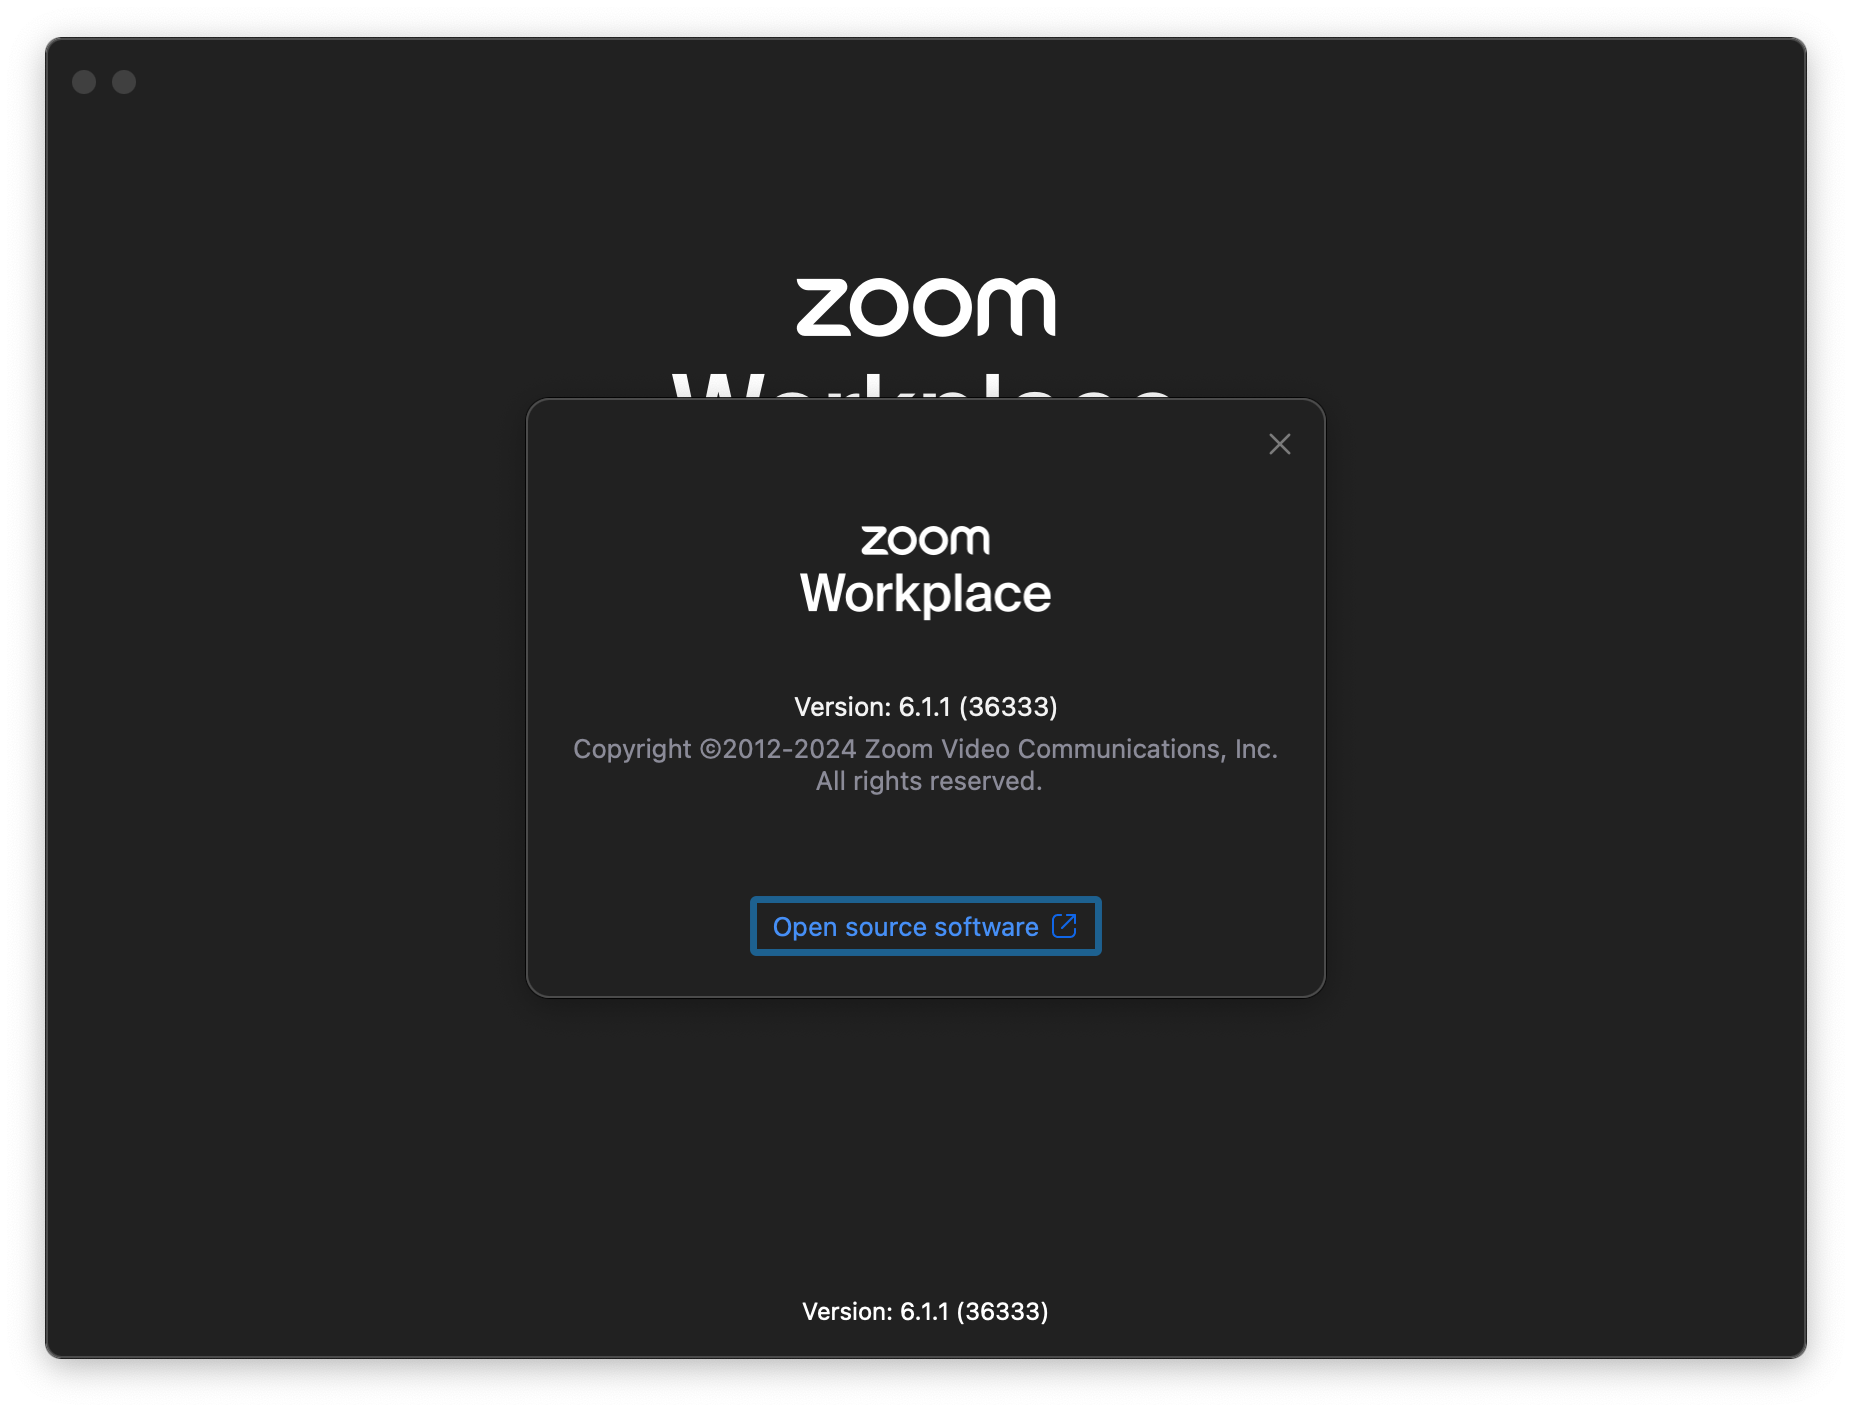
Follow through with the package installation on your machine/a testing machine. With the app open, write down the app version. In Zoom’s case, it is written at the bottom of the login page. (If it isn’t, you can use the app’s “about” pane. With the app open, select its name in the macOS menu bar and click “About Zoom Workplace”)
-
In Finder, open the applications folder and find
zoom.us. Right click and select “Show Package Contents”. In theContentsfolder, openInfo.plist. We’re looking for theCFBundleIdentifier’s value, which in this case, isus.zoom.xos. Write this down.<key>CFBundleIdentifier</key> <string>us.zoom.xos</string> - Back in Finder, right click
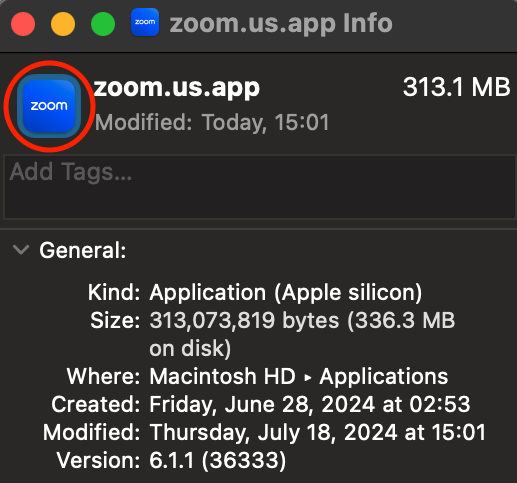
zoom.usand press “Get Info” (alternatively, press command + i). -
Click the small app icon so that it is selected and then press command + c to copy the icon.
-
Open
Preview.app, and in the macOS menu bar, select “New from Clipboard” (or command + n). Save the file as a.pngsomewhere on your disk. -
In Apple Business Essentials (ABE), under the apps tab, select “New Package”. The fields are to be filled out as follows:
-
Package Name:
zoom.us - macOS Package URL: The download URL you wrote down in step #2
- SHA-256 Hash: The hash you wrote down in step #4
-
Bundle ID: The
CFBundleIdentifieryou wrote down in step #6 - Version: The app version you wrote down in step #5
-
App Icon: The
.pngyou saved in step #9 - Description: I included Zoom’s website here, though this isn’t necessary.
I didn’t add any System Extensions, Privacy Preference Permissions, or Login and Background Item Management items.
-
Package Name:
- Save the package. Add the app to a collection or assign it to a device. Using a device that has been assigned the new package, open
Essentials.app, find your new package, and press install. (It may take a little while for the package to appear – it took around 10 seconds in my case.)
That’s it! During the app install process, the user might be prompted to choose whether to “Automatically keep the Zoom Workplace app up to date”. My recommendation is to keep this checked and press done, otherwise the Sysadmin will need to regularly upload update packages into ABE. I encourage users at this point to also configure the necessary app permissions so that they don’t experience any hiccups during their first meeting:
- Open Zoom settings by pressing “Zoom Workplace” in the menu bar and selecting “Settings…” (alternatively, press the command key and , at the same time).
- Press “Video” in the left hand tab. When prompted, press “Allow” when Zoom asks to access the camera. Change any other settings you’d like now.
- Press “Audio” in the left hand tab. Same as before, press “Allow” when it asks to use the microphone.
To get set up for screen sharing:
- Open macOS System Settings (click the Apple Icon in the menu bar -> “System settings…”)
- In the list on the lefthand side of the screen, select “Privacy & Security” (under Siri)
- Scroll down to “Screen & System Audio Recording” and click it
- Under “Screen & System Audio Recording” it will likely say ”No items” - click the plus + icon and then use your finger print/type in your laptop password. A select window will open. Press “Applications” in the left hand menu, and then scroll to the bottom and select zoom.us and then press open.
(AFAIK, there isn’t a way to automate this part of the setup…)
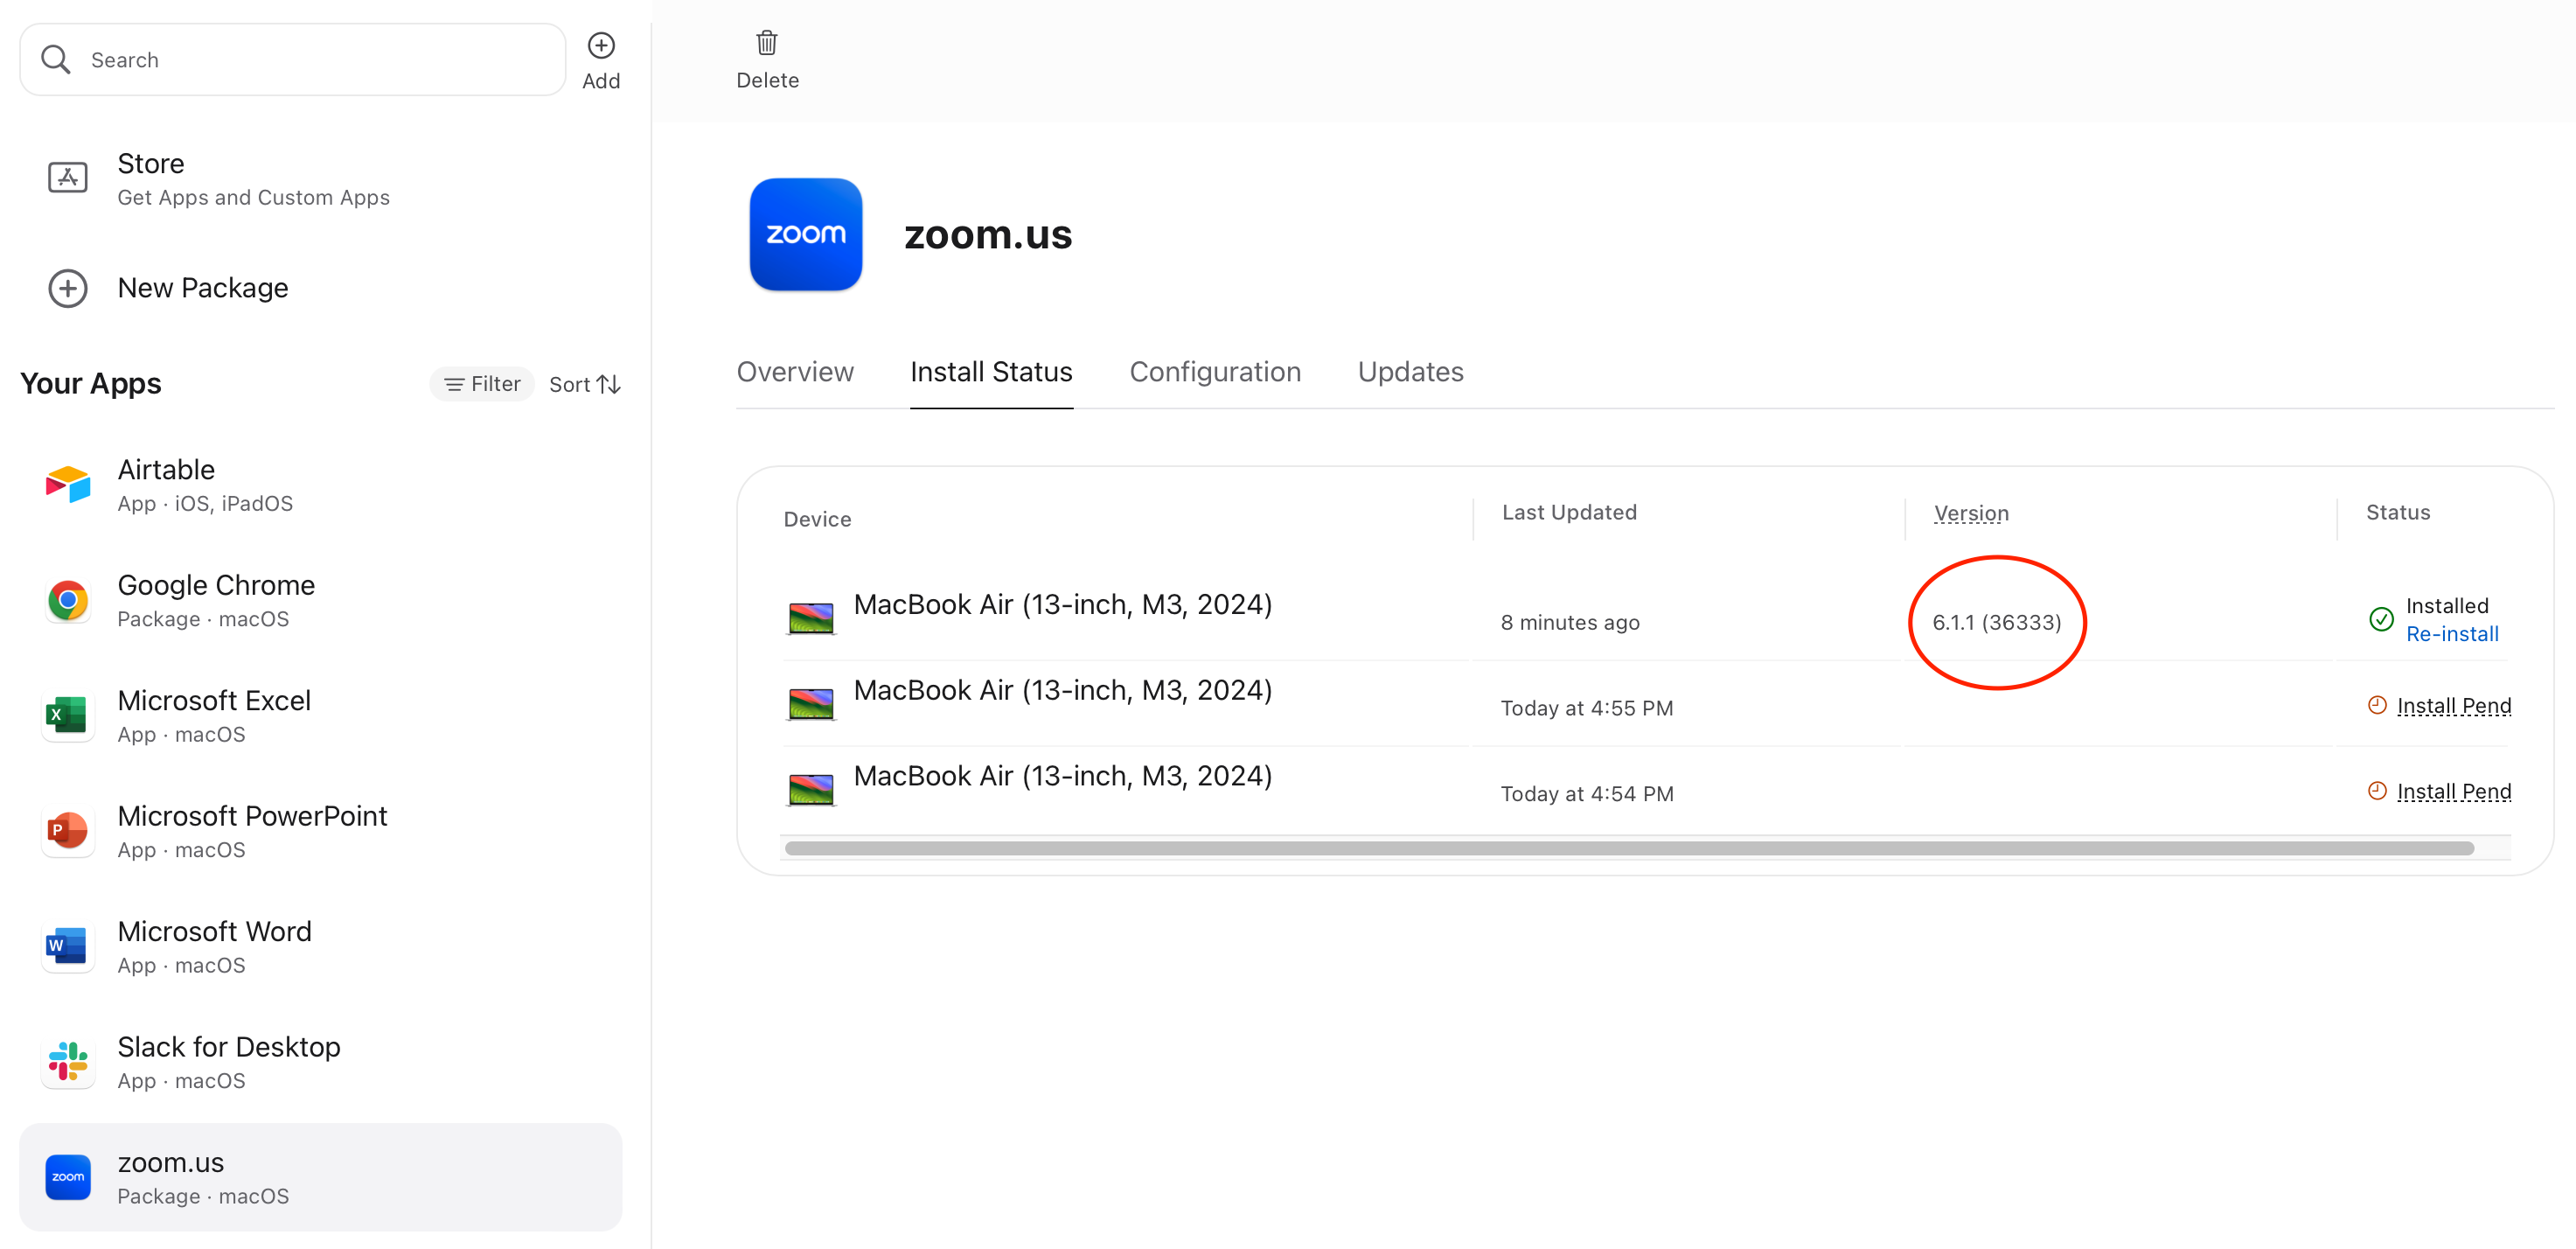
Back in ABE, you can view app installation status on assigned devices:
Google Chrome
The process for deploying Chrome’s package is more or less the same as Zoom’s. However, what isn’t obvious at first is that Chrome has a download page targeted at enterprise users where you can choose to download a .pkg instead of a .dmg installer. Google likes to obfuscate their download URLs, but with a little bit of trickery it can be acquired:
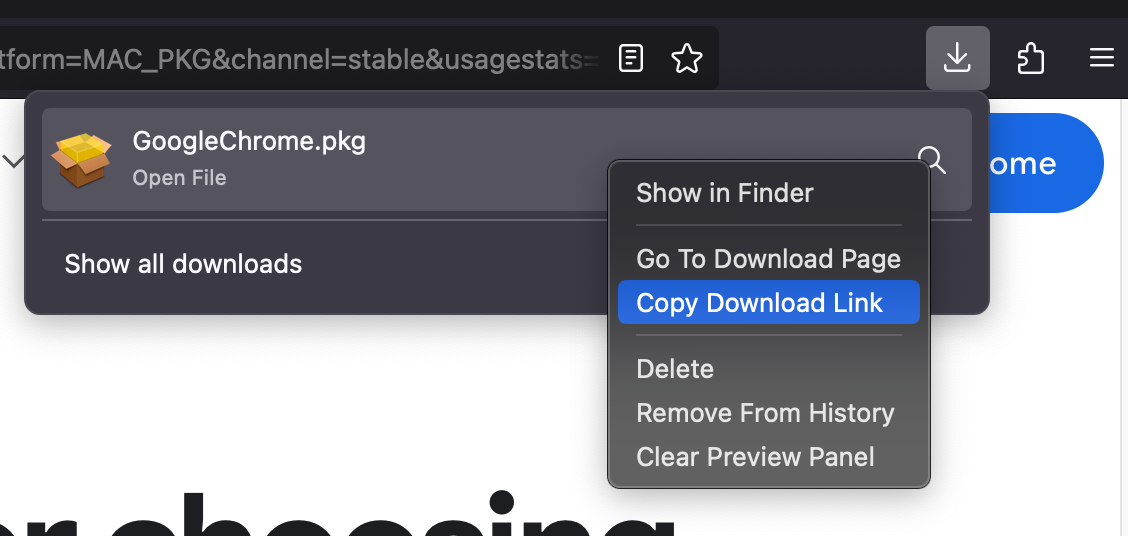
- Using Firefox, download your chosen installer
- Open the downloads pane
- Right click your download and select “Copy Download Link”
Otherwise, the installation follows in the same order as Zoom. Follow steps #1-11, changing the names and icon as needed.
Happy deployment!